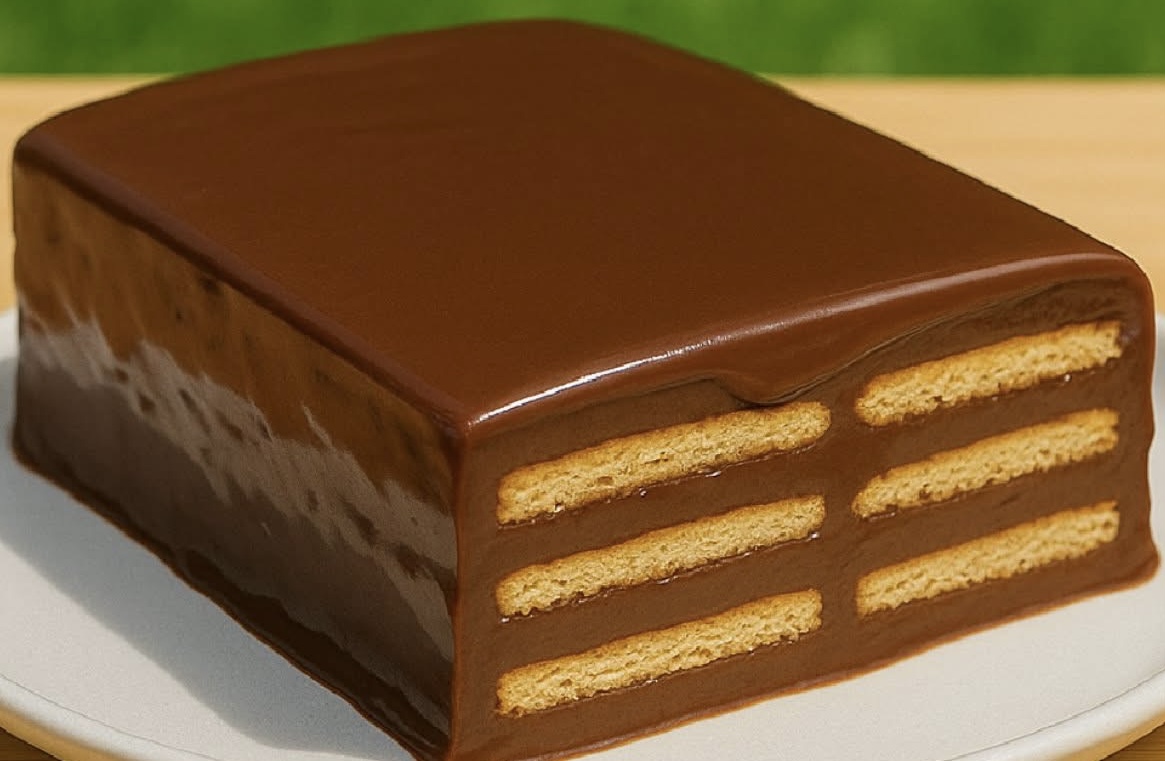
Chocolate Biscuit Layered Dessert is a classic no-bake treat that combines silky smooth chocolate cream with layers of soft tea biscuits. This recipe is perfect for anyone looking for an indulgent, easy-to-make dessert that requires no oven and very little effort. With just a few simple ingredients and straightforward steps, you can create a dessert that looks impressive, tastes divine, and will please both kids and adults alike.
What makes this dessert so special is its texture and flavor. The biscuits soak up just the right amount of cream to become soft without falling apart, while the chocolate layer remains rich and creamy. Each bite gives you a perfect balance of chocolatey goodness and a hint of crunch from the softened biscuits.
Below is the full step-by-step guide to making this delicious dessert at home, along with tips for success, variations you can try, and ideas for serving it in creative ways.
Ingredients
To prepare this recipe, you will need the following:
- 1 liter milk
- 1 cup sugar
- 5 tablespoons cocoa powder
- 2 tablespoons cornstarch
- 2 tablespoons flour
- 200 grams dark or milk chocolate (chopped)
- 1 tablespoon butter
- About 300 grams plain tea biscuits (like Marie or Petit Beurre)
Each ingredient plays an important role in creating the perfect texture and flavor:
- Milk is the base for the chocolate cream, giving it smoothness and body.
- Sugar sweetens the mixture, balancing the cocoa’s bitterness.
- Cocoa powder adds an intense chocolate flavor.
- Cornstarch and flour together help thicken the cream to a pudding-like consistency.
- Chopped chocolate melts into the mixture for extra richness.
- Butter adds gloss and a silky finish to the cream.
- Tea biscuits form the layers, providing structure and a subtle crunch that softens over time.
Step-by-Step Instructions
Step 1: Prepare the Chocolate Cream
Start by placing a medium-sized saucepan on the stove. In it, combine the cocoa powder, cornstarch, flour, and sugar. Whisk these dry ingredients together to ensure they are evenly distributed and free of lumps. This step is important because it helps prevent clumps from forming when you add the milk.
Gradually pour in the milk while whisking continuously. Adding the milk slowly allows the dry ingredients to dissolve evenly. Keep whisking until the mixture is smooth and uniform.
Place the saucepan over medium heat. Cook the mixture, stirring constantly, until it begins to thicken. This process usually takes about 10 to 12 minutes. As it cooks, you will notice the texture changing from a thin liquid to a thicker, pudding-like consistency. Be patient and keep stirring to avoid scorching the bottom.
Once the cream has thickened, remove the saucepan from the heat. Immediately add the chopped chocolate and butter. Stir until the chocolate is fully melted and the mixture becomes smooth, glossy, and rich. The residual heat from the cream will melt the chocolate quickly.
Step 2: Layer the Dessert
Choose a square or rectangular dish for assembling your dessert. Start by spreading a thin layer of the chocolate cream on the bottom. This will help the first layer of biscuits stick and prevent them from shifting around.
Arrange a single layer of biscuits over the cream. Depending on the size of your dish, you might need to break some biscuits to fit neatly.
Spread another layer of chocolate cream over the biscuits, making sure they are completely covered. Then add another layer of biscuits. Continue alternating between cream and biscuits until you’ve used up all your ingredients. Finish with a thick layer of chocolate cream on top.
Step 3: Chill
Allow the dessert to cool at room temperature for about 30 minutes before transferring it to the refrigerator. This prevents condensation from forming on the surface.
Once cooled, cover the dish with plastic wrap or a lid and refrigerate for at least 4 hours, or preferably overnight. Chilling allows the biscuits to absorb the cream and become soft, while the chocolate layer sets to the perfect consistency.
Step 4: Serve
When ready to serve, slice the dessert into neat squares or rectangles using a sharp knife. For a more decorative touch, you can dust the top with cocoa powder, sprinkle with chocolate shavings, or drizzle with melted chocolate.
Serve the dessert chilled, straight from the refrigerator. It pairs beautifully with a cup of coffee, tea, or a glass of cold milk.
Tips for Success
- Use high-quality cocoa powder and chocolate for the best flavor.
- If you like a sweeter dessert, use milk chocolate instead of dark.
- Keep stirring while cooking the cream to prevent lumps and burning.
- Make sure the cream is hot when layering, as this helps soften the biscuits faster.
- Letting the dessert chill overnight will yield the best texture.
Variations to Try
One of the best things about this dessert is how versatile it is. You can adapt it to your taste or to what you have available in your pantry. Here are some ideas:
- Add a layer of whipped cream between the chocolate layers for extra lightness.
- Sprinkle crushed nuts, such as hazelnuts or almonds, between layers for crunch.
- Add a splash of coffee or coffee liqueur to the cream for a mocha flavor.
- Use flavored biscuits, like chocolate-covered or coconut biscuits, for variety.
- Incorporate fresh fruit slices such as bananas or strawberries for a fruity twist.
Serving Ideas
This dessert is elegant enough for special occasions but simple enough for everyday enjoyment. You can:
- Serve it as part of a dessert buffet for parties.
- Cut it into small bite-sized squares for a finger-food option.
- Present it in individual cups by layering biscuits and cream in small glasses or jars.
- Garnish with whipped cream, berries, or mint leaves for a colorful touch.
Storage Instructions
Chocolate Biscuit Layered Dessert stores well in the refrigerator for up to 4 days. Keep it covered to prevent it from absorbing other flavors from the fridge. The biscuits will continue to soften over time, so the texture will become even more tender after the first day.
This dessert does not freeze well because the biscuits can become soggy and the cream may lose its smooth texture when thawed.
Why This Recipe Works
The combination of cornstarch and flour ensures the cream thickens perfectly without becoming too heavy. Using both cocoa powder and melted chocolate creates a deep, layered chocolate flavor that is far more satisfying than using one or the other alone. The biscuits act like sponges, absorbing the chocolate cream and creating a cake-like texture without any baking.
It’s an ideal recipe for beginner cooks, as it requires no specialized equipment or complex techniques. The ingredients are easy to find, and the steps are straightforward.
Conclusion
Chocolate Biscuit Layered Dessert is proof that you don’t need an oven to make something truly delicious and impressive. Its creamy, chocolate-rich layers and soft biscuit texture make it a comfort dessert you’ll want to return to again and again. Whether you prepare it for a family gathering, a celebration, or just as a weekend treat, it’s sure to become a favorite.
The next time you crave chocolate but don’t want to deal with complicated baking, this no-bake dessert is the perfect choice. It’s rich, indulgent, and satisfying — exactly what a chocolate lover dreams of.