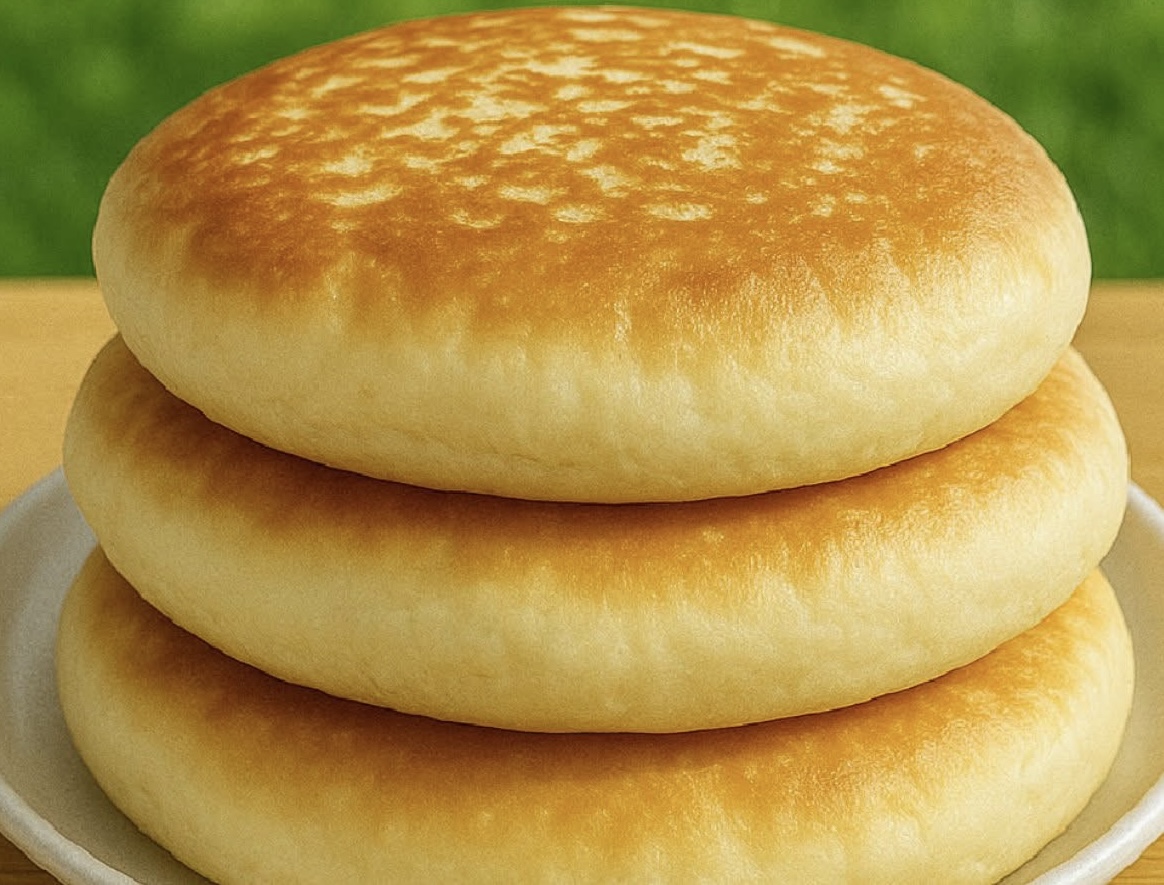
Fluffy skillet bread is a simple yet delightful bread recipe that brings the comforting aroma and taste of freshly baked bread right into your kitchen—without the need for an oven. This type of bread is soft, airy, and perfect for serving with both sweet and savory accompaniments. It is made using basic pantry ingredients and cooked in a skillet, making it ideal for those who want fresh bread but don’t have access to an oven or simply want to try something different.
The recipe combines the lightness of yeast-leavened bread with the convenience of stove-top cooking. The result is a golden, pillowy bread with a tender crumb that pairs perfectly with butter, honey, jam, cheese, or even savory dips. Skillet bread is also a versatile option for sandwiches and wraps.
In this detailed guide, we will go step-by-step through the process of making fluffy skillet bread. We will explore ingredient selection, dough preparation, kneading techniques, rising tips, shaping, and cooking to achieve the best possible texture and flavor.
Why Make Fluffy Skillet Bread at Home
Making skillet bread at home has several advantages. First, it allows you to control the quality of ingredients, ensuring there are no unnecessary additives or preservatives. Second, it is a great alternative to baking when you don’t want to turn on the oven, especially in hot weather. Finally, homemade skillet bread is fresher and more flavorful than most store-bought flatbreads.
This bread is also a fantastic option for beginner bakers. The recipe is straightforward, and because it is cooked on the stove, you can watch the bread as it cooks and make adjustments in real time. Even if you are new to working with yeast, this recipe is an excellent starting point.
Ingredients for Fluffy Skillet Bread
To make fluffy skillet bread, you need only six ingredients:
- 300g all-purpose flour (about 2½ cups)
- 200ml warm milk (about ¾ cup + 1 tbsp)
- 1 tablespoon sugar
- 1 teaspoon salt
- 1 teaspoon instant yeast
- 1 tablespoon oil (plus more for cooking)
These ingredients are common and affordable. Let’s briefly discuss their roles in the recipe:
All-purpose flour provides structure and body to the bread. It contains enough gluten to give the bread elasticity and strength while keeping it soft.
Warm milk acts as the liquid base and enriches the dough, giving it a softer texture and richer flavor than water alone. The warmth helps activate the yeast, speeding up the fermentation process.
Sugar feeds the yeast, helping it produce carbon dioxide that makes the bread rise. It also adds a hint of sweetness and promotes browning during cooking.
Salt is essential for flavor and also strengthens the gluten structure, resulting in a better crumb.
Instant yeast is a convenient leavening agent that works quickly. If you prefer, you can use active dry yeast, but it will need to be dissolved and activated in warm milk before use.
Oil adds tenderness to the bread and helps keep it moist. It also prevents sticking during cooking.
Step-by-Step Instructions
Step 1: Activate the Yeast (if needed)
If you are using active dry yeast, mix the warm milk, sugar, and yeast in a small bowl. Stir gently and let the mixture sit for 5 to 10 minutes until it becomes foamy. This indicates that the yeast is active and ready to use.
If you are using instant yeast, you can skip this waiting period and add it directly to the flour.
Step 2: Make the Dough
In a large mixing bowl, combine the flour and salt. Add the milk mixture (or warm milk if using instant yeast) and the oil. Mix until the ingredients come together into a shaggy dough.
Turn the dough out onto a lightly floured surface and knead for 8 to 10 minutes by hand, or use a stand mixer with a dough hook for about 5 minutes. The dough should become smooth, elastic, and slightly tacky but not sticky.
Step 3: Let the Dough Rise
Place the kneaded dough in a lightly oiled bowl, turning it once to coat the surface with oil. This prevents the dough from drying out during rising.
Cover the bowl with a clean kitchen towel or plastic wrap and let it rise in a warm, draft-free place for about 1 hour, or until it doubles in size. The exact time will depend on room temperature.
Step 4: Shape the Dough
Once the dough has risen, punch it down gently to release the gas. Divide it into equal portions—usually 6 to 8 pieces, depending on your preferred size.
Shape each piece into a smooth ball by tucking the edges underneath. Flatten each ball slightly into a thick disc.
Step 5: Cook the Bread
Heat a skillet over low-medium heat and lightly brush it with oil. Place one or two discs of dough into the skillet, depending on its size.
Cook for 3 to 5 minutes on one side until the bread is golden and puffed. Flip and cook for another 3 to 5 minutes on the other side. Adjust the heat as needed to prevent burning while ensuring the bread cooks through.
Step 6: Serve Warm
Remove the bread from the skillet and keep it warm by wrapping it in a clean kitchen towel. Serve immediately with butter, honey, jam, cheese, or your favorite fillings.
Tips for Perfect Fluffy Skillet Bread
- Measure ingredients accurately – Bread recipes rely on precise ratios for the right texture.
- Use warm milk, not hot – Hot milk can kill yeast, preventing the dough from rising.
- Don’t rush the rise – Allow the dough enough time to double in size. This ensures the bread will be light and airy.
- Control the cooking temperature – Low to medium heat prevents the bread from browning too quickly while remaining raw inside.
- Cover the skillet briefly – This traps steam and helps the bread cook through while staying soft.
Serving Ideas
Fluffy skillet bread is incredibly versatile. Here are a few serving suggestions:
- Spread with butter and honey for a sweet treat
- Serve with soups or stews as a warm accompaniment
- Use as a base for flatbread pizzas
- Fill with grilled meats and vegetables for a sandwich wrap
- Pair with hummus, tzatziki, or baba ganoush for a Mediterranean-inspired snack
Storage and Reheating
If you have leftovers, allow the bread to cool completely before storing. Place it in an airtight container or zip-top bag and keep at room temperature for up to 2 days. For longer storage, freeze the bread for up to 2 months.
To reheat, warm it in a skillet over low heat or wrap it in foil and heat in the oven at 150°C (300°F) for a few minutes.
Variations
Once you master the basic recipe, you can experiment with variations:
- Add chopped herbs such as rosemary, thyme, or parsley to the dough
- Mix in grated cheese for a richer flavor
- Sprinkle sesame or nigella seeds on top before cooking
- Replace part of the flour with whole wheat flour for a more rustic bread
Conclusion
Fluffy skillet bread is a quick, satisfying way to enjoy homemade bread without the need for an oven. With just a few simple ingredients and minimal equipment, you can create a warm, soft, and delicious bread that pairs well with countless dishes. Whether you serve it fresh with butter, use it as a wrap, or enjoy it alongside a hearty meal, this bread is sure to become a favorite in your kitchen.
By following the step-by-step process and tips outlined here, you will be able to achieve perfect results every time. The combination of gentle kneading, proper rising, and careful skillet cooking ensures that the bread remains tender and fluffy on the inside with a beautiful golden crust on the outside.
Homemade bread always brings a special sense of satisfaction, and skillet bread is one of the easiest ways to experience that joy. So, gather your ingredients, warm up your skillet, and start cooking—you’re only a few steps away from enjoying fresh, fluffy bread straight from your stovetop.