Glazed doughnuts have a timeless charm. From their golden-brown crust to the delicate, shiny glaze that catches the light, they’re a joy to make and even more satisfying to eat. There’s something magical about biting into a homemade doughnut that’s still warm—pillowy soft on the inside with a gentle chew, coated in a sweet glaze that slightly cracks with each bite.
This recipe is for classic yeast-raised doughnuts that are deep-fried and glazed, just like the ones from your favorite bakery. The dough is made with simple ingredients—flour, yeast, sugar, milk, butter, egg—and the result is a batch of doughnuts that are light, airy, and perfectly sweet.
Let’s walk through the full process step by step, explain each part clearly, and provide extra tips for troubleshooting, customizing, and storing your doughnuts.
Ingredients
For the dough:
2½ cups (310 g) all-purpose flour
2 tbsp sugar
½ tsp salt
2 tsp dry yeast
1 egg
¾ cup (180 ml) warm milk
2 tbsp softened butter
Oil for frying
For the glaze:
1 cup powdered sugar
2–3 tbsp milk or water
½ tsp vanilla extract (optional)
Step-by-Step Instructions
1. Activate the Yeast
Start by warming your milk to about 38–40°C (100–105°F), which is warm to the touch but not hot. Pour the warm milk into a bowl or jug. Add the sugar and the dry yeast. Stir gently and let it sit for 5 to 10 minutes.
After resting, the mixture should look foamy or bubbly on top—this means the yeast is active and ready. If it stays flat, the yeast may be old or the milk too hot or cold, and you’ll need to start over.
Using active dry yeast gives the doughnuts that signature light texture. If you’re using instant yeast, you can skip the blooming step and mix it directly into the dry ingredients, though blooming still helps gauge freshness.
2. Prepare the Dough
In a large mixing bowl, combine the all-purpose flour and salt. Make a well in the center. Add the egg, softened butter, and the yeast mixture. Mix everything together until a shaggy dough forms.
If you’re kneading by hand, turn the dough onto a floured surface and knead for about 10 minutes until the dough becomes smooth and elastic. It should stretch without tearing easily. If you’re using a stand mixer with a dough hook, knead for about 5 minutes on medium-low speed.
The dough will be slightly tacky but should pull away from your hands and the bowl cleanly. If it feels too sticky, add a tablespoon of flour at a time. Avoid adding too much flour or over-kneading, as this can make the doughnuts dense instead of airy.
Once kneaded, shape the dough into a ball and place it in a lightly oiled bowl. Cover with plastic wrap or a damp cloth and let it rise in a warm place for about 1 hour, or until doubled in size.
3. Shape the Doughnuts
Once the dough has risen, gently deflate it with your hands and turn it out onto a floured surface. Roll the dough out to about 1 cm (⅓ inch) thickness.
Use a doughnut cutter or two round cutters (one large, one small) to cut out the doughnuts. Set the cut doughnuts aside on a lightly floured surface or parchment-lined tray. Don’t forget to save the doughnut holes if you like to fry them too.
Cover the shaped doughnuts with a cloth and let them rise again for 30 to 45 minutes. They should puff up noticeably, though not too much—overproofing can cause them to collapse during frying.
This second rise helps develop that soft, airy texture inside the doughnuts.
4. Fry the Doughnuts
Heat a pot of oil over medium heat to 170–180°C (340–355°F). Use a thermometer for accuracy. Maintaining the right temperature is crucial: if the oil is too hot, the doughnuts will brown too quickly and remain raw inside. If it’s too cool, they’ll absorb too much oil and turn greasy.
Once the oil is ready, gently lower a few doughnuts into the pot using a slotted spoon or your hands. Don’t overcrowd the pot—fry 2 to 3 at a time, depending on the size.
Fry each side for about 1 to 2 minutes, or until golden brown. Use tongs or chopsticks to flip them gently. Once cooked, remove and drain on paper towels or a wire rack.
Repeat with the remaining doughnuts, adjusting the oil heat as needed to keep the temperature stable.
If frying the doughnut holes, they’ll cook a little faster—usually about 1 minute per side.
5. Glaze the Doughnuts
While the doughnuts are still warm but not hot, prepare the glaze. In a bowl, mix the powdered sugar with 2 tablespoons of milk or water. Add more liquid gradually if needed to reach a smooth, pourable consistency. Add vanilla extract if using.
Dip each doughnut face-down into the glaze, allow excess to drip off, and place them on a wire rack to set. The glaze will form a smooth, slightly crackled coating as it cools.
You can also fully submerge the doughnuts in glaze for a thicker coating, or drizzle the glaze over the top for a more rustic finish.
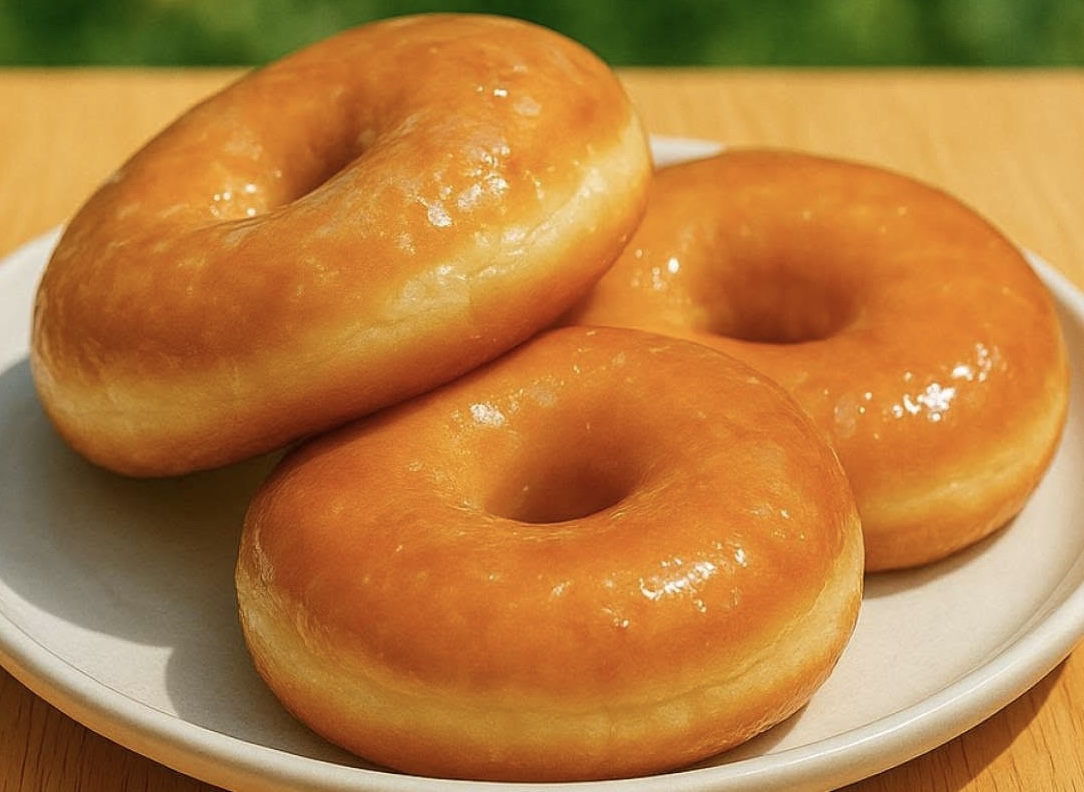
Results: Light, Golden, and Glossy
After the glaze sets, you’ll have a batch of doughnuts that are soft on the inside, golden on the outside, and topped with a glossy, sweet glaze. The yeast base makes them light and airy, with just the right amount of chewiness. The glaze adds a sugary finish that melts on the tongue.
These doughnuts are best eaten fresh on the day they’re made, but they can be stored for a day or two with good results.
Storage and Reheating
Room temperature: Store leftover doughnuts in a container at room temperature for up to 2 days. Place parchment paper between layers to prevent sticking.
Reheat: Warm slightly in the microwave for 10 to 15 seconds before eating. This helps soften the texture and revive the glaze.
Freezing (unfried): You can shape the doughnuts, freeze them on a tray, then transfer to freezer bags. Let them thaw and rise before frying.
Freezing (fried, unglazed): Freeze plain fried doughnuts once cooled. Reheat in the oven at 160°C (320°F) until warmed through, then glaze fresh.
Tips for Success
- Measure ingredients carefully. Especially with yeast dough, accurate measurements help achieve the right texture. Use a scale for best results.
- Knead until smooth. Proper kneading develops the gluten needed for soft, stretchy doughnuts.
- Let the dough rise fully. Don’t rush the proofing time. The dough should double in size before shaping.
- Use a thermometer. Oil temperature control makes or breaks fried doughnuts. Stay between 170–180°C throughout.
- Dip while warm. The glaze sets best when the doughnuts are slightly warm.
Troubleshooting
Dough didn’t rise: Your yeast may be expired or the milk too hot. Always check yeast freshness and aim for warm—not hot—liquid.
Doughnuts are greasy: Oil temperature was likely too low. Maintain heat and fry in small batches.
Doughnuts are dense: Under-kneading or under-proofing can make the dough heavy. Make sure the dough is well-developed and fully risen before frying.
Glaze won’t set: The doughnuts may be too hot or the glaze too thin. Let the doughnuts cool slightly and thicken the glaze with extra sugar if needed.
Flavor Variations
This recipe is a fantastic base for creative twists. Try these simple variations:
Chocolate glaze: Replace the glaze with a mix of powdered sugar, cocoa powder, and milk. For a shinier finish, add a little melted butter.
Cinnamon sugar: Skip the glaze and toss warm doughnuts in a mix of cinnamon and granulated sugar.
Filled doughnuts: Skip cutting out the center and fill with jam, custard, or chocolate after frying using a piping bag with a long tip.
Maple glaze: Use maple syrup in place of some of the liquid in the glaze for a cozy, breakfast-style topping.
Serving Suggestions
Serve doughnuts warm with coffee, hot chocolate, or tea for a comforting treat. They also make a fun dessert platter when paired with other sweets like mini muffins or chocolate-dipped fruit.
For gatherings, arrange them in a doughnut tower or stack and drizzle with extra glaze or toppings. Kids love helping dip them into sprinkles or powdered sugar.
For a brunch table, serve them alongside fresh fruit, scrambled eggs, or even a savory dish to balance out the sweetness.
Cultural Note
Glazed doughnuts have roots in various baking traditions around the world. Yeast-leavened doughnuts originated in Europe and were brought to America by Dutch settlers. In the U.S., they became iconic through shops and franchises offering soft, sweet, glazed varieties fresh from the fryer.
Across cultures, similar treats exist—from French beignets to German berliners and Italian bomboloni—all showcasing the joy of fried dough enriched with sugar and butter.
This recipe reflects the classic American-style glazed doughnut: airy, lightly sweet, and topped with a transparent sugar glaze that hardens into a delicate shell.
Final Thoughts
Homemade glazed doughnuts are an indulgent treat that’s surprisingly doable in your own kitchen. With a few simple ingredients and a little care in kneading and frying, you can make bakery-style doughnuts that rival anything store-bought.
They’re soft, airy, shiny, and satisfyingly sweet. Whether you eat them plain, dipped in glaze, or filled with your favorite flavor, they’re guaranteed to disappear quickly.
Once you master this version, feel free to get creative with toppings, fillings, and glazes. But even in their simplest form, these doughnuts are a joy to make and even more delightful to eat.