This yellow cake is a true classic. With its rich golden color, fluffy texture, and buttery flavor, it stands on its own as a crowd-pleasing dessert or base for countless creations. Whether served plain, topped with fruit, layered with jam, or frosted with buttercream, it delivers a nostalgic homemade charm that never disappoints.
This version uses simple pantry staples, a single mixing bowl, and one cake pan. The result is a tall, airy cake with a tender crumb and light vanilla scent. It’s the kind of recipe that’s perfect for busy weekdays, birthday parties, tea time, or anytime you need a versatile dessert that’s guaranteed to please.
The secret to its success lies in the balance between richness and fluffiness. Three eggs provide body and structure, sugar brings sweetness and browning, oil adds moisture, and milk softens the crumb. Baking powder lifts the batter into a light, sponge-like cake, while a pinch of salt enhances every flavor.
Ingredients
3 eggs
1 cup sugar
1/2 cup vegetable oil
1/2 cup milk
1 teaspoon vanilla extract
1 1/2 cups all-purpose flour
1 tablespoon baking powder
Pinch of salt
This ingredient list is short and sweet, and yet each component plays an essential role. You don’t need butter for this version—vegetable oil keeps the cake moist for longer and gives it that unmistakable yellow cake texture. Using milk instead of water helps soften the structure while adding a touch of creaminess.
Instructions
Step 1: Preheat the Oven
Preheat your oven to 175°C (350°F). This ensures your cake bakes evenly from the moment it goes in. Grease a round 9-inch cake pan with oil or butter, and line the bottom with parchment paper if you want a clean release.
You can also use an 8-inch pan for a taller cake, or a square pan if you prefer easier slicing. Just make sure your pan is deep enough to allow the cake to rise without spilling over.
Step 2: Beat the Eggs and Sugar
In a large mixing bowl, crack in the eggs and add the sugar. Whisk them together by hand or using a handheld electric mixer until the mixture turns pale, thick, and slightly foamy. This step introduces air into the batter, contributing to the cake’s fluffy structure.
You should mix for at least 2 to 3 minutes. The volume of the eggs and sugar will increase, creating a light base for the rest of the ingredients.
Step 3: Add the Wet Ingredients
Once the eggs and sugar are fully combined and airy, add the vegetable oil, milk, and vanilla extract. Mix everything until well blended. The batter should now look creamy and smooth.
Vegetable oil helps create a more even crumb compared to butter and makes the cake softer the next day. It also ensures the cake stays moist, even if stored for several days.
Step 4: Sift and Fold in the Dry Ingredients
In a separate bowl, combine the flour, baking powder, and a pinch of salt. Sift the dry ingredients gradually into the wet mixture. Stir gently between each addition to avoid overmixing. A rubber spatula or wooden spoon works well for this.
Continue mixing until there are no visible streaks of flour. The final batter should be smooth, slightly thick, and pourable.
Sifting the flour makes a difference—it breaks up any lumps and helps evenly distribute the baking powder. The result is a more consistent texture with fewer air pockets.
Step 5: Bake
Pour the batter into the prepared cake pan and gently tap the pan on the counter to release any trapped air bubbles.
Bake in the preheated oven for 35 to 40 minutes. The top should turn golden brown, and the cake should spring back when lightly pressed in the center. To check doneness, insert a toothpick or skewer into the middle—it should come out clean or with a few dry crumbs.
Avoid opening the oven during the first 30 minutes to prevent collapsing. Every oven is a bit different, so start checking at the 35-minute mark.
Step 6: Cool and Serve
Let the cake cool in the pan for 10 minutes, then turn it out onto a wire rack to cool completely. This resting period allows the crumb to set and makes slicing easier.
Once cool, slice and serve as-is or with your favorite topping. The texture is soft and buttery, with a pleasant lightness that’s perfect for pairing with coffee or tea.
Flavor and Texture
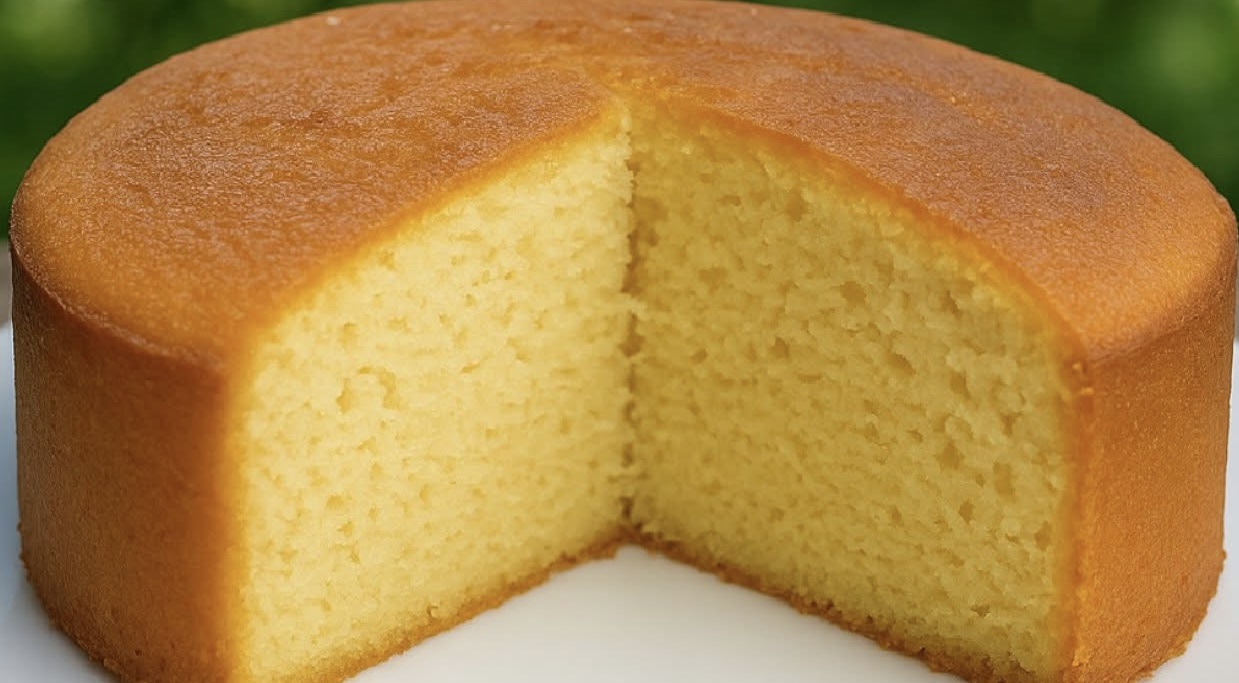
This cake is known for its moist, fluffy crumb and golden yellow hue. The balance of eggs, oil, and milk gives it a rich flavor while still being light enough to eat plain.
Vanilla adds warmth without overwhelming the base. The sugar caramelizes just slightly at the top, giving the cake a lightly crisp golden edge that contrasts beautifully with the soft interior.
The crumb holds together well without being dense. It’s sliceable but not dry, rich but not heavy.
Serving Suggestions
One of the best things about this yellow cake is its versatility. It’s delicious all by itself but can easily be transformed for different occasions.
With Fruit:
Serve warm or chilled with a dollop of whipped cream and fresh berries.
With Jam or Preserves:
Slice in half horizontally and spread with raspberry jam or apricot preserves.
With Frosting:
Top with chocolate ganache, vanilla buttercream, or cream cheese frosting for a celebratory dessert.
As a Layer Cake:
Double the recipe and bake in two pans to create a classic two-layer cake with frosting in between.
With Ice Cream:
Serve a warm slice with a scoop of vanilla or caramel ice cream for a comfort-style dessert.
Tea-Time Cake:
Dust with powdered sugar and serve plain with tea or coffee in the afternoon.
Storage and Shelf Life
This cake keeps beautifully for several days and can even be frozen for later use.
Room Temperature:
Store in an airtight container at room temperature for up to 3 days. The texture remains soft and moist.
Refrigerator:
Refrigerate in a sealed container for up to 5 days. Bring to room temperature before serving for the best texture.
Freezer:
Wrap cooled cake slices or layers in plastic wrap, then foil. Freeze for up to 2 months. Thaw at room temperature or in the fridge overnight.
Make-Ahead Tip:
You can make the cake a day in advance and frost it the next day. The flavor improves slightly after resting, and it slices more cleanly.
Tips for Success
Don’t Overmix:
Mix just until everything is combined. Overmixing can lead to a tougher crumb.
Use Fresh Baking Powder:
Check that your baking powder is still active. Expired baking powder can result in a dense cake that doesn’t rise.
Room Temperature Ingredients:
Let the eggs and milk sit at room temperature for 15 to 20 minutes before mixing. This helps the batter emulsify more easily, leading to better volume.
Test Early:
Check for doneness a few minutes before the minimum time, especially if your oven runs hot or you’re using a dark-colored pan.
Cooling Matters:
Don’t rush the cooling process. Letting the cake rest properly ensures it won’t crumble when sliced.
Variations
Citrus Twist:
Add 1 tablespoon lemon or orange zest to the batter for a bright citrus note.
Spiced Version:
Add 1/2 teaspoon cinnamon or a pinch of nutmeg for a warm, autumn flavor.
Chocolate Chips:
Fold 1/2 cup mini chocolate chips into the batter for a fun, sweet touch.
Marble Cake:
Remove one-third of the batter and mix it with 2 tablespoons cocoa powder. Alternate spoonfuls of each batter in the pan and swirl gently with a knife before baking.
Mini Cakes or Cupcakes:
Spoon batter into a lined muffin tin and bake for 18 to 22 minutes. Makes about 10 to 12 cupcakes.
Why You’ll Love This Cake
This yellow cake is the kind of recipe that becomes a regular in your kitchen. It’s fast to make, uses ingredients you likely already have, and works for almost every dessert occasion. The texture is consistently moist and light, the flavor is classic and comforting, and the method is approachable even for beginner bakers.
You don’t need fancy equipment, boxed mixes, or a long ingredient list. It’s just a reliable cake that tastes like home.
Whether you’re baking for a birthday, a brunch, or just want something sweet with your afternoon coffee, this cake is the answer.
Final Thoughts
There’s something undeniably comforting about a well-made yellow cake. This version is a go-to for its simplicity, flavor, and reliability. It’s sweet but not overwhelming, rich but not heavy, and soft without falling apart.
It makes a lovely base for frostings and fillings, but it’s just as satisfying served plain. No matter how you slice it or serve it, this cake will leave you with empty plates and happy faces.
If you’re looking for a simple, failproof yellow cake that bakes up moist, fluffy, and golden every time, this is the one.