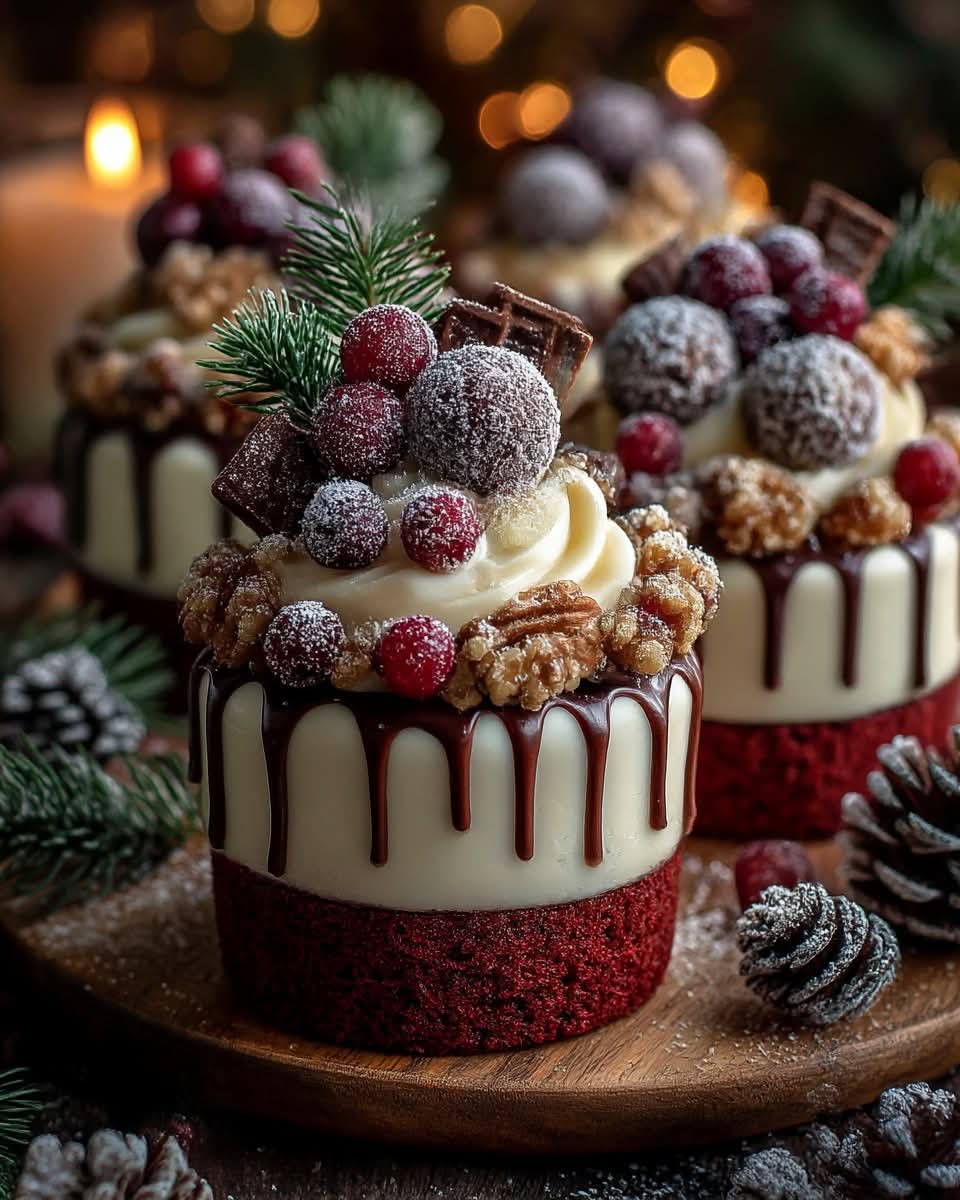
Red Velvet Wreath Push Pops: A Festive Christmas Treat
These adorable push pop desserts combine the classic flavor of red velvet with a festive wreath design, perfect for holiday parties, cookie exchanges, or Christmas celebrations.
Ingredients
For the Red Velvet Cake:
· 2 ½ cups all-purpose flour
· 1 ½ cups granulated sugar
· 1 tsp baking soda
· 1 tsp salt
· 1 tsp cocoa powder
· 1 ½ cups vegetable oil
· 1 cup buttermilk
· 2 large eggs
· 2 tbsp red food coloring
· 1 tsp white vinegar
· 1 tsp vanilla extract
For the Cream Cheese Frosting:
· 8 oz cream cheese, softened
· ½ cup unsalted butter, softened
· 4 cups powdered sugar
· 1 tsp vanilla extract
· Pinch of salt
For Assembly:
· 12 push pop containers (clear plastic)
· Fresh rosemary sprigs or mint leaves
· Cranberries or pomegranate seeds
· Edible glitter or sprinkles (optional)
· Small holly decorations (edible)
Equipment Needed
· Push pop containers
· Piping bag with star tip
· Mixing bowls
· Electric mixer
· Round cookie cutter (slightly smaller than push pop diameter)
· Baking sheet
Instructions
Step 1: Bake the Red Velvet Cake
1. Preheat oven to 350°F (175°C). Grease and line a 9×13 inch baking pan.
2. In a medium bowl, whisk together flour, sugar, baking soda, salt, and cocoa powder.
3. In a large bowl, mix oil, buttermilk, eggs, food coloring, vinegar, and vanilla.
4. Gradually add dry ingredients to wet ingredients, mixing until just combined.
5. Pour batter into prepared pan and bake for 25-30 minutes, until a toothpick inserted comes out clean.
6. Let cake cool completely in pan.
Step 2: Prepare Cream Cheese Frosting
1. Beat cream cheese and butter together until smooth and creamy.
2. Gradually add powdered sugar, mixing on low speed until incorporated.
3. Add vanilla and salt, then beat on medium-high until fluffy (about 2-3 minutes).
Step 3: Create Cake Circles
1. Once cake is completely cool, use a round cookie cutter (slightly smaller than your push pop containers) to cut out circles from the cake.
2. You should get about 12-15 circles depending on the size of your push pops.
Step 4: Assemble Push Pops
1. Place a small dollop of frosting in the bottom of each push pop container to secure the first cake layer.
2. Add a cake circle, then pipe a layer of frosting using a star tip.
3. Repeat with another cake circle and another frosting layer.
4. Finish with a final generous swirl of frosting on top, creating a wreath-like circle with a hole in the center.
Step 5: Decorate as Wreaths
1. Gently press small sprigs of fresh rosemary or mint around the frosting to resemble evergreen wreaths.
2. Add small cranberries, pomegranate seeds, or red sprinkles as “berries.”
3. For extra sparkle, dust with edible glitter.
4. Optionally add small edible holly decorations.
Make-Ahead Tips
· Bake cake up to 2 days in advance
· Store unfilled push pops in refrigerator for up to 24 hours before serving
· Add fresh greenery just before serving to prevent wilting
Presentation Ideas
· Arrange push pops on a tiered stand for parties
· Tie with festive ribbons around the containers
· Place in individual gift boxes for edible gifts
· Create a “wreath” display by arranging push pops in a circle on a serving platter
These push pops offer a perfect individual portion of holiday cheer with minimal mess and maximum festive appeal!