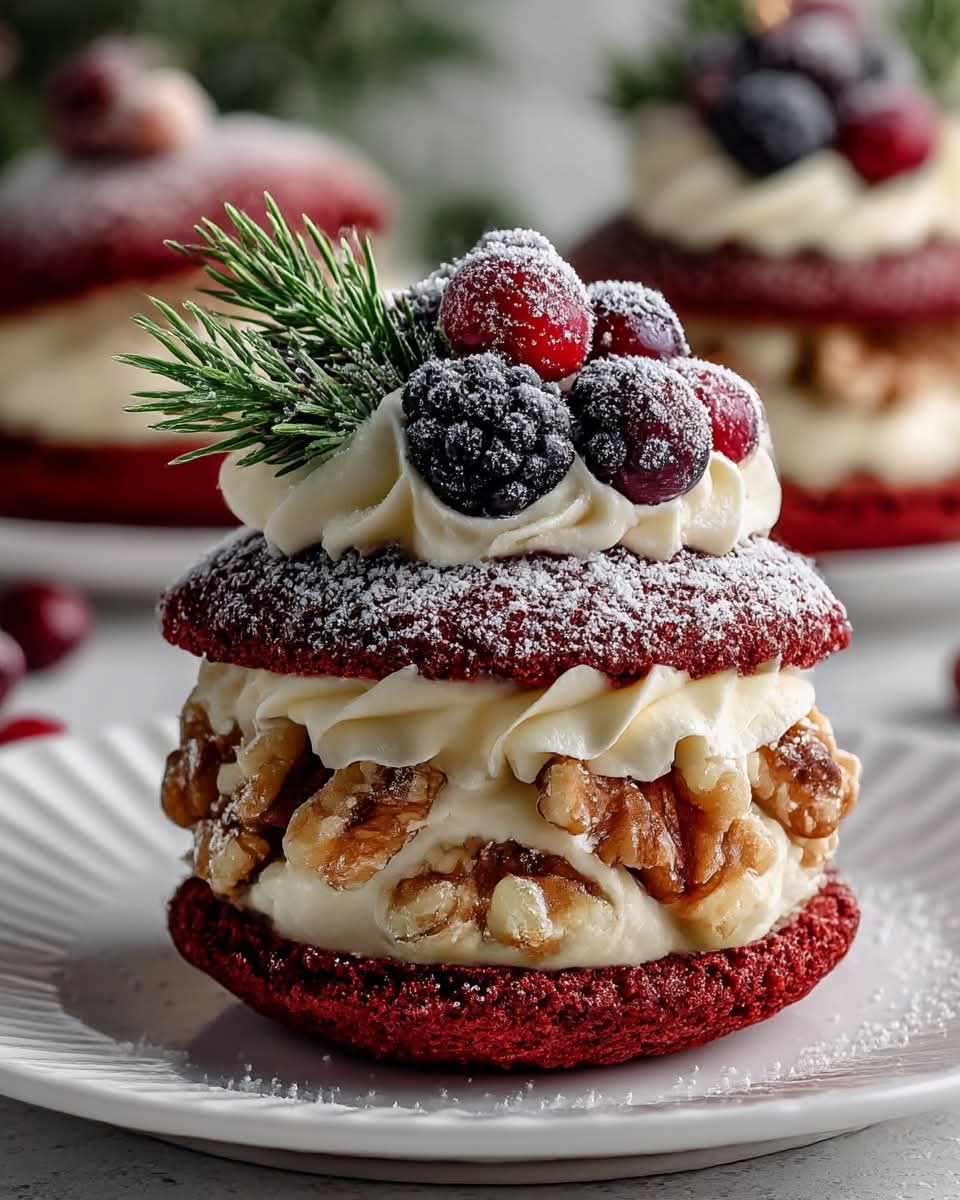
Red Velvet Wreath Whoopie Pies
These festive, cakey whoopie pies are shaped into adorable wreaths and filled with a rich cream cheese frosting. Perfect for Christmas, holidays, or any festive gathering.
Ingredients
For the Red Velvet Wreath Cakes:
· 2 cups all-purpose flour
· ¼ cup natural unsweetened cocoa powder
· 1 teaspoon baking soda
· ½ teaspoon salt
· ½ cup (1 stick / 113g) unsalted butter, softened
· 1 cup packed light brown sugar
· 1 large egg, room temperature
· 1 teaspoon vanilla extract
· 1 cup buttermilk, room temperature
· 1 oz (or 2 tablespoons) red liquid food coloring
· Optional: 1 teaspoon white vinegar (enhances red color and rise)
For the Cream Cheese Filling:
· ½ cup (1 stick / 113g) unsalted butter, softened
· 4 oz (½ block) full-fat cream cheese, softened
· 2 cups powdered sugar, sifted
· 1 teaspoon vanilla extract
· Pinch of salt
For Decoration:
· Green sanding sugar or green sparkling sugar
· Red candy pearls, red sprinkles, or dried cranberries
· Optional wreath “bows”: Red fruit leather, red fondant, or extra frosting dyed red and piped
Equipment
· Piping bags
· Large round piping tip (½-inch opening) or a zip-top bag with a corner snipped off
· Baking sheets
· Parchment paper or silicone mats
Instructions
1. Make the Wreath Cakes:
· Prep: Preheat oven to 375°F (190°C). Line baking sheets with parchment paper.
· Dry Ingredients: In a medium bowl, whisk together flour, cocoa powder, baking soda, and salt.
· Wet Ingredients: In a large bowl, beat softened butter and brown sugar with an electric mixer on medium-high speed until light and fluffy (2-3 minutes). Beat in the egg and vanilla until combined.
· Combine: With the mixer on low, add half of the dry ingredients, then all of the buttermilk and food coloring (and vinegar, if using). Mix until just combined, then add the remaining dry ingredients. Mix until smooth, scraping down the sides as needed. The batter will be thick but pipeable.
2. Pipe the Wreaths:
· Fit a piping bag with a large round tip (or snip ½-inch off a corner of a zip-top bag). Fill with batter.
· On the prepared baking sheets, pipe doughnut-shaped circles about 2 inches in diameter, leaving 2 inches of space between them. (Pipe a closed circle, like the letter “O”).
· Optionally, sprinkle the tops lightly with green sanding sugar for a “pine needle” effect.
3. Bake:
· Bake for 8-10 minutes, or until the tops spring back when lightly touched. Do not overbake.
· Let cool on the baking sheet for 5 minutes, then transfer to a wire rack to cool completely.
4. Make the Cream Cheese Filling:
· In a large bowl, beat the softened butter and cream cheese together until completely smooth and lump-free.
· Gradually add the sifted powdered sugar on low speed, then increase speed and beat until fluffy (1-2 minutes). Beat in vanilla and salt.
5. Assemble and Decorate:
· Once the wreath cakes are completely cool, match them up in pairs by size.
· Pipe or spread a generous layer of cream cheese filling onto the flat side of one wreath cake. Gently press its matching partner on top.
· Decorate: Use a small dab of leftover frosting to adhere red candy pearls or cranberries around the wreath as “berries.” Create a small bow from red fruit leather or pipe one with dyed frosting, if desired.
Pro-Tips for Success
· Room Temperature is Key: Butter, egg, buttermilk, and cream cheese must be at room temperature for smooth, even batter and frosting.
· Piping Consistency: If batter is too thick to pipe, let it sit for 5-10 minutes; it will relax. If too thin, refrigerate for 15 minutes.
· Even Baking: Use light-colored baking sheets. Dark sheets can cause over-browning on the bottoms.
· Storing: Store assembled whoopie pies in an airtight container in the refrigerator for up to 4 days. Let sit at room temperature for 30 minutes before serving for the best texture.
Enjoy these festive, handheld treats that are sure to be the hit of your holiday table!