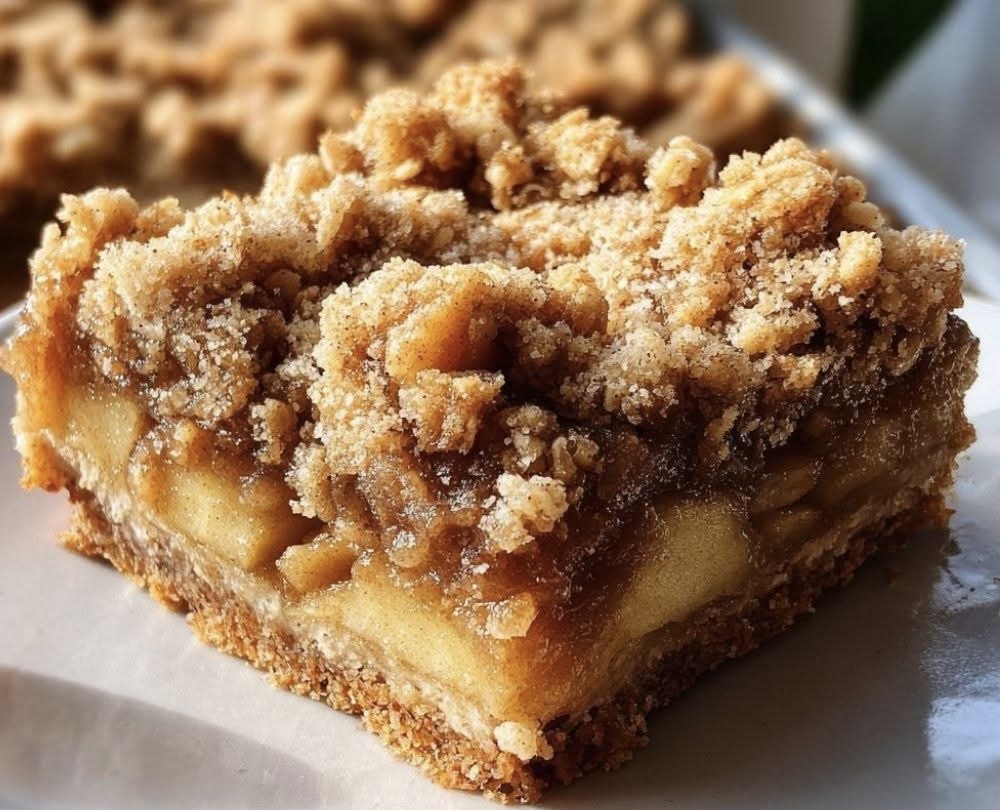
Apple desserts have a special way of bringing comfort to any table. From pies to crumbles, the combination of apples, cinnamon, and buttery crust is timeless. Apple crisp bars take everything we love about a traditional apple crisp and transform it into a handheld treat. With a buttery oat crust, tender apple filling, and golden crumb topping, these bars are perfect for snacking, sharing, or enjoying as a cozy dessert with a scoop of vanilla ice cream.
The recipe is straightforward, requires simple pantry ingredients, and comes together in just about an hour. Whether you’re baking for a family gathering, a casual weeknight dessert, or even prepping snacks for the week, apple crisp bars are a versatile and reliable choice.
Ingredients
- 2 cups all-purpose flour
- 1 cup rolled oats
- 1 cup brown sugar, packed
- 1 teaspoon ground cinnamon
- 1/2 teaspoon baking soda
- 1/4 teaspoon salt
- 1 cup unsalted butter, melted
- 3 cups peeled and chopped apples (about 3 medium apples)
- 2 tablespoons granulated sugar
- 1 teaspoon lemon juice
- 1 teaspoon vanilla extract
Directions
Step 1: Preheat and Prepare the Pan
Set your oven to 350°F (175°C). Line a 9×13-inch baking pan with parchment paper, leaving enough overhang on the sides so you can lift the bars out easily after baking. This makes slicing and serving neat and effortless.
Step 2: Make the Crust and Crumble
In a large bowl, combine flour, rolled oats, brown sugar, cinnamon, baking soda, and salt. Stir in the melted butter until the mixture becomes crumbly. The texture should resemble wet sand with some larger crumbs.
Press about two-thirds of this mixture firmly into the bottom of the prepared pan to form the crust. Using the back of a spoon or the bottom of a measuring cup helps pack it down evenly.
Step 3: Prepare the Apple Filling
In another bowl, toss the chopped apples with granulated sugar, lemon juice, and vanilla extract. The lemon juice keeps the apples bright and adds a little tang to balance the sweetness. Spread this apple mixture evenly over the crust.
Step 4: Add the Topping
Sprinkle the remaining crumb mixture evenly over the apples, pressing it down lightly. This layer will bake into a golden, crisp topping that contrasts beautifully with the tender apple filling.
Step 5: Bake
Place the pan in the preheated oven and bake for 40 to 45 minutes, or until the top is golden brown and the apples are bubbling. The aroma of cinnamon and apples will fill your kitchen as they bake, making it hard to wait.
Step 6: Cool and Slice
Remove the pan from the oven and let it cool completely on a wire rack. Once cooled, lift the bars out of the pan using the parchment paper overhang. Cut into squares or rectangles, depending on your preference.
Timing and Yield
- Prep Time: 15 minutes
- Cooking Time: 45 minutes
- Total Time: 1 hour
- Yield: 12 bars
- Calories: About 280 kcal per bar
Tips for Perfect Apple Crisp Bars
- Choose the right apples. Tart varieties like Granny Smith balance the sweetness of the brown sugar and caramel-like topping. If you prefer sweeter bars, Honeycrisp or Fuji apples work well.
- Press the crust firmly. A tightly packed crust ensures the bars hold together when sliced.
- Let them cool fully. Cutting too early can make the bars crumble apart. Patience pays off here.
- Double the spices. If you love warm flavors, add a pinch of nutmeg or allspice along with the cinnamon.
- Make them gluten-free. Swap the flour with a gluten-free blend and ensure your oats are certified gluten-free.
Serving Suggestions
Apple crisp bars are delicious on their own, but they can be elevated in simple ways:
- Warm them slightly and serve with a scoop of vanilla ice cream for a classic pairing.
- Add a drizzle of caramel sauce over the top for extra indulgence.
- Serve with a dollop of whipped cream and a sprinkle of cinnamon for a lighter touch.
- Pair with hot coffee or spiced tea for a cozy afternoon snack.
They also make a lovely addition to dessert tables, potlucks, or bake sales, as they are easy to transport and portion.
Storing and Freezing
Store the bars in an airtight container at room temperature for up to three days. For longer freshness, refrigerate them for up to a week. If you’d like to prepare them ahead, they freeze beautifully. Simply wrap individual bars tightly in plastic wrap, then place them in a freezer-safe container or bag. To serve, thaw at room temperature or warm in a low oven until just heated through.
Why We Love Apple Crisp Bars
Apple crisp bars capture the essence of homemade comfort in a convenient, shareable form. They have the best qualities of a pie and a crisp combined: a sturdy crust that holds its shape, a juicy apple filling, and a crunchy, sweet topping. Unlike traditional apple crisp that requires serving with a spoon, these bars cut neatly and can be enjoyed with your hands or on a plate.
For busy bakers, the recipe offers a stress-free way to make an impressive dessert. With simple pantry staples and fresh apples, you can whip up a batch without any fancy equipment. The balance of flavors and textures makes them universally appealing, whether served as a quick snack, a lunchbox treat, or the finale to a family dinner.
Variations and Twists
One of the best things about this recipe is how adaptable it is. Here are a few ways to customize your apple crisp bars:
- Nutty variation: Add chopped pecans or walnuts to the crumble mixture for a crunchy, nutty layer.
- Berry boost: Mix in a handful of cranberries or raspberries with the apple filling for a tart twist.
- Spiced apple bars: Increase the cinnamon and add cloves, ginger, or cardamom for deeper flavor.
- Maple sweetness: Replace part of the brown sugar with pure maple syrup in the filling for a hint of caramelized maple flavor.
- Glazed bars: Drizzle cooled bars with a simple powdered sugar glaze for extra sweetness and shine.
A Dessert That Feels Like Home
There’s something nostalgic about apple desserts, and apple crisp bars are no exception. They remind us of fall afternoons, family gatherings, and the comfort of baked goods straight from the oven. Unlike a pie that needs slicing and plating, these bars are casual yet satisfying, making them perfect for everyday baking.
They bring together the best of both worlds: the homey flavors of an apple crisp and the portability of a bar cookie. Every bite offers a mix of textures—crumbly crust, soft apple filling, and crunchy topping. They are proof that simple recipes often deliver the most joy.
Final Thoughts
Easy apple crisp bars are a dessert worth adding to your baking repertoire. With minimal effort, you can create a tray of bars that look inviting, taste delicious, and store well for later enjoyment. They highlight the natural sweetness of apples, the warmth of cinnamon, and the richness of butter in every layer.
Whether you serve them as a treat for guests, pack them in lunchboxes, or enjoy them with your favorite warm drink, they’re bound to become a go-to recipe. Comforting, versatile, and always satisfying, apple crisp bars truly live up to their name: easy, yet unforgettable.