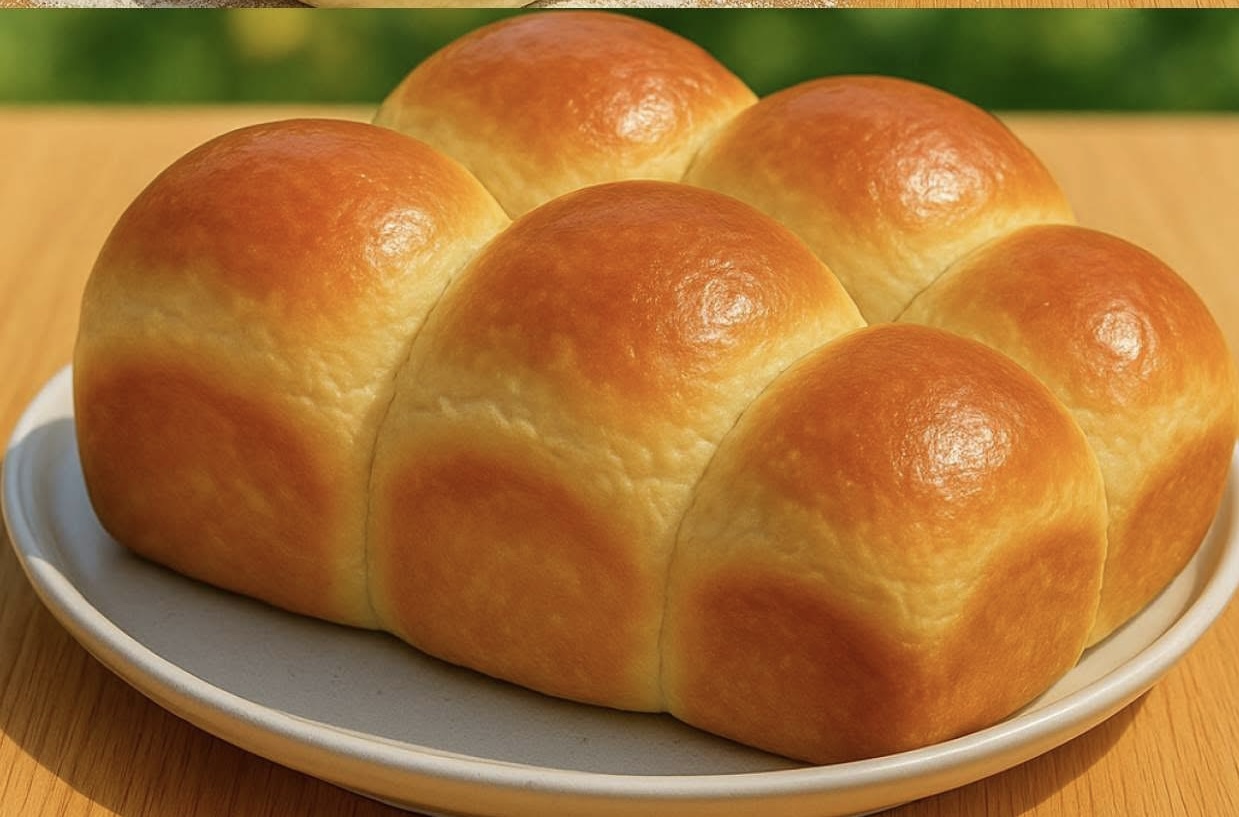
There is something special about the aroma of freshly baked bread filling the kitchen. Soft, buttery rolls are one of those classic baked goods that bring instant comfort, whether served as part of a meal, used for sandwiches, or enjoyed warm with a simple spread of butter and jam. This recipe produces rolls that are pillowy inside, slightly golden on the outside, and enriched with eggs and oil for a tender crumb.
The method is straightforward, and the dough is easy to work with. While the process involves two rises, the hands-on time is minimal, and the result is well worth the wait. By following each step carefully, you will end up with rolls that rival bakery quality.
Ingredients
Dough
4 cups all-purpose flour, plus extra for dusting
2 teaspoons instant yeast
3 tablespoons sugar
1¼ cups warm water or warm milk
¼ cup oil (vegetable or sunflower)
2 eggs
½ teaspoon salt
For brushing
Before baking: 1 egg white mixed with 2 tablespoons water (egg wash)
After baking: 2 tablespoons melted butter
These quantities make about 9 to 12 medium-sized rolls. The recipe can be doubled or halved as needed.
Method
1. Activate the yeast (if using active dry yeast)
If you are using instant yeast, you can skip this step and add it directly to the flour. If you are using active dry yeast, combine the warm water or milk with the sugar and yeast in a small bowl. Stir gently and let it rest for 5 to 10 minutes until frothy. The warm liquid should be around body temperature — warm to the touch but not hot — to activate the yeast without killing it.
2. Prepare the dough
In a large mixing bowl, combine the flour and salt. In a separate bowl or jug, whisk together the eggs, oil, and the yeast mixture. Gradually pour the wet ingredients into the flour, mixing with a spoon or your hands until a rough dough forms. The dough should start to come together but may still be slightly sticky at this stage.
3. Knead
Turn the dough out onto a lightly floured surface. Knead for about 8 to 10 minutes until it becomes smooth, elastic, and less sticky. You can also use a stand mixer fitted with a dough hook on medium speed for about 6 to 8 minutes. Proper kneading develops the gluten structure, which gives the rolls their soft, springy texture.
4. First rise
Place the kneaded dough into a lightly greased bowl, turning it once to coat the surface. Cover the bowl with a clean kitchen towel or plastic wrap and set it in a warm, draft-free area to rise. This first rise will take about 1 to 1½ hours, or until the dough has doubled in size. Rising time may vary depending on room temperature.
5. Shape the rolls
Once the dough has risen, punch it down gently to release excess air. Turn it out onto a lightly floured surface and divide it into 9 to 12 equal portions, depending on the size of rolls you prefer. Shape each portion into a smooth ball by tucking the edges underneath and gently rolling on the counter. Arrange the shaped rolls in a greased baking dish or spaced slightly apart on a greased baking sheet.
6. Second rise
Cover the rolls loosely and allow them to rise again in a warm place for 30 to 45 minutes. They should become noticeably puffy and may almost double in size again. This second rise helps ensure the rolls bake up soft and airy.
7. Bake
Preheat your oven to 180°C (350°F) while the rolls are completing their second rise. Just before baking, brush the tops with the egg wash to give them a beautiful golden finish. Bake for 20 to 25 minutes, or until the rolls are golden brown on top and sound hollow when tapped underneath.
8. Final touch
Remove the rolls from the oven and immediately brush them with melted butter while they are still hot. This adds shine and enhances their soft, tender texture. Serve them warm or allow them to cool completely before storing.
Tips for success
- If your kitchen is cool, create a warm rising environment by placing the covered dough in an oven that has been slightly warmed and then turned off.
- Warm milk gives a richer flavour, but warm water will produce equally soft rolls.
- Do not overbake the rolls; remove them from the oven as soon as they are golden brown to keep them soft.
- For extra buttery flavour, replace the oil with melted butter in the dough.
- When shaping rolls, keep the surface taut by tucking dough underneath — this helps them rise evenly.
Variations
This base recipe can be adapted to suit different meals and flavours.
- Herb rolls: Add 1 teaspoon of dried herbs such as rosemary, oregano, or thyme to the flour for aromatic dinner rolls.
- Garlic butter rolls: Brush the hot rolls with garlic-infused butter instead of plain melted butter.
- Cheese-topped rolls: Sprinkle grated cheddar or parmesan on top before baking.
- Sweet breakfast rolls: Increase sugar to 5 tablespoons and sprinkle the tops with cinnamon sugar before baking.
- Whole wheat rolls: Replace up to half the flour with whole wheat flour for a heartier texture.
Serving suggestions
Soft homemade rolls are incredibly versatile. Serve them warm with butter at breakfast, split them for sandwiches, or pair them with soups and stews. They are also excellent with salads or as an accompaniment to roast dinners. For a festive meal, arrange the rolls in a circular pattern in the baking dish so they bake into a pull-apart bread.
For brunch, try serving them with fruit preserves, honey, or cream cheese. They can also be sliced and used as sliders filled with pulled meat or grilled vegetables.
Storage and reheating
Store cooled rolls in an airtight container at room temperature for up to three days. To keep them fresh longer, freeze them in a sealed bag or container for up to one month. When ready to serve, reheat in a low oven until warm, or microwave for a few seconds to restore softness.
Avoid storing rolls in the refrigerator, as this can make bread products stale more quickly.
Background and tradition
Homemade rolls are a staple in many cultures, with variations ranging from light milk bread rolls to dense rye buns. The version here is enriched with eggs and oil, giving it a soft, almost brioche-like texture without being overly rich.
The practice of baking rolls in a single dish so that they touch while baking helps them rise higher and stay soft on the sides. This method has been popular in home baking for generations, particularly for holiday gatherings where freshly baked bread is a highlight of the table.
Troubleshooting
- Rolls didn’t rise: Your yeast may have been inactive or the liquid was too hot and killed it. Always check the yeast’s freshness.
- Dense texture: This can happen if the dough wasn’t kneaded long enough or didn’t rise fully.
- Over-browning: Cover the rolls loosely with foil if they are browning too quickly before the centres are cooked.
Conclusion
These soft, buttery homemade rolls are everything you want in fresh bread — light, fluffy, tender, and aromatic. They require simple pantry ingredients and a bit of patience, but the results are consistently rewarding. Whether served alongside a hearty meal, filled with your favourite sandwich fillings, or enjoyed plain and warm from the oven, they are a timeless addition to any table.
Once you have mastered this recipe, you can adapt it endlessly to suit your tastes and occasions. The smell alone as they bake is reason enough to keep making them, and the first bite confirms why homemade bread remains one of life’s simple pleasures.