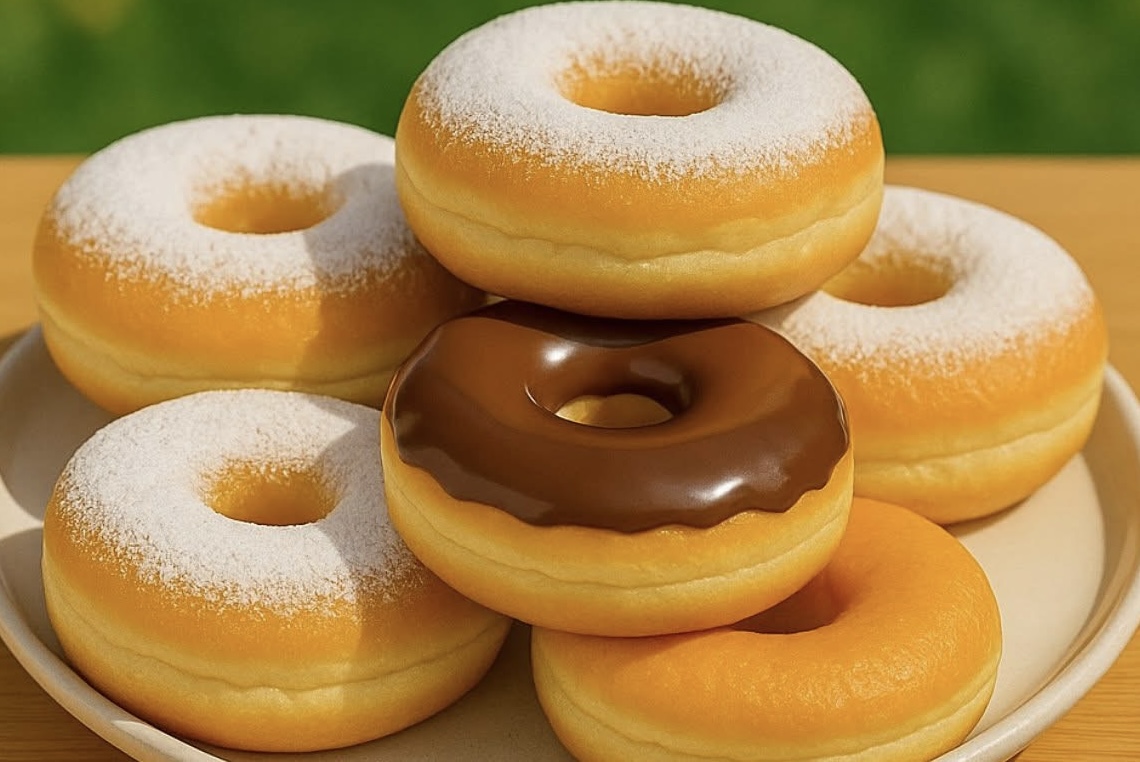
There’s something timeless and comforting about a soft, fluffy donut fresh out of the fryer. With a golden exterior and pillowy interior, these classic homemade donuts are the perfect treat for breakfast, brunch, or anytime cravings hit. This recipe delivers everything you want in a yeast donut: light texture, just the right touch of sweetness, and a buttery richness that makes each bite irresistible. Whether you enjoy them dusted with powdered sugar, dipped in chocolate, or plain, they’re a joy to make and even more satisfying to eat.
What Makes These Donuts Fluffy?
The fluffiness comes from the combination of yeast-based dough, warm milk, and egg yolks. Yeast is what gives the donuts their rise and airy crumb, while the yolks provide tenderness and richness. A proper kneading and two distinct proofing periods—one before shaping and one after—ensure the donuts are light, well-structured, and evenly risen. Frying them at the right temperature allows them to puff up instantly and lock in that soft interior.
Ingredients
2 ½ cups all-purpose flour
½ cup warm milk
2 egg yolks
¼ cup sugar
¼ cup butter (softened)
1 teaspoon active dry yeast
½ teaspoon salt
Oil for frying
Optional: powdered sugar or melted chocolate for topping
Step-by-Step Instructions
Step 1: Activate the Yeast
In a small bowl, mix the warm milk (not hot), one tablespoon of sugar (from the total sugar), and the active dry yeast. Stir gently and let it sit for 5 to 10 minutes until foamy. This step activates the yeast and ensures your dough will rise properly. If it doesn’t become frothy, the yeast may be expired or the milk too hot or cold.
Step 2: Prepare the Dough
In a large mixing bowl or stand mixer, combine the flour, remaining sugar, and salt. Add in the egg yolks, the frothy yeast mixture, and the softened butter. Begin mixing the ingredients together with a spoon or dough hook. Once combined, knead the dough by hand or in a mixer for 8 to 10 minutes until smooth, elastic, and slightly tacky but not sticky. Add a small amount of flour only if necessary. The dough should form a soft, cohesive ball.
Step 3: First Rise
Place the kneaded dough into a lightly greased bowl. Cover it with a clean kitchen towel or plastic wrap and allow it to rise in a warm, draft-free place for about 1 hour, or until it has doubled in size. This rise is crucial for developing the light and airy texture of the donuts.
Step 4: Shape the Donuts
Once the dough has risen, gently punch it down to release air. Transfer it to a lightly floured surface and roll it out to about 1 centimeter thick. Use a round cutter (about 7–8 cm wide) to cut out the donut shapes. If you want traditional ring-style donuts, cut a smaller hole in the center using a bottle cap or smaller cutter.
Place the cut-out donuts (and the holes, if using) on a tray lined with parchment paper. Make sure there’s space between each piece.
Step 5: Second Rise
Cover the donuts lightly with a kitchen towel and let them rise again for 30 to 45 minutes. They should puff up noticeably. This second proofing helps achieve maximum fluffiness when fried.
Step 6: Fry the Donuts
Heat oil in a deep pan or fryer to 170–180°C (340–355°F). Use a thermometer for accuracy—too low and the donuts will absorb oil and become greasy; too high and the outsides will brown too quickly before the insides cook.
Carefully lower the donuts into the hot oil, working in small batches. Fry each side for about 1 to 2 minutes until golden brown. Use tongs or a slotted spoon to flip them and remove once evenly fried.
Drain on paper towels or a wire rack to remove excess oil.
Step 7: Add Your Finishing Touch
While still warm, you can roll the donuts in powdered sugar or let them cool slightly and dip the tops into melted chocolate. If using chocolate, let it set at room temperature or in the fridge briefly.
Tips for Success
Check Yeast Activity
Always ensure your yeast is active before adding it to the dough. A good rise is essential for the donuts to become fluffy and light.
Knead Well
Kneading helps develop the gluten that gives structure to the donuts. Proper gluten development creates elasticity and supports the rise during proofing and frying.
Control the Temperature
Use a thermometer to maintain oil temperature between 170°C and 180°C. Fluctuating temperatures can affect texture and oil absorption.
Don’t Overproof
While rising is important, letting the dough proof too long (especially in the second rise) can cause it to collapse when fried. Keep an eye on the dough and test with a gentle poke: it should slowly spring back but still leave a slight indent.
Let Oil Drain Fully
Drain donuts well on paper towels to prevent sogginess. A wire rack over paper towels also works well to keep the bottoms from getting oily.
Topping Ideas
These donuts can be finished in a variety of delicious ways. Here are some favorites:
- Powdered Sugar
Classic and simple. Roll the donuts in powdered sugar while still warm for a sweet coating that melts in your mouth. - Cinnamon Sugar
Mix granulated sugar with a bit of ground cinnamon and toss the warm donuts in the mixture. - Melted Chocolate
Dip the tops of the donuts in melted dark, milk, or white chocolate. Top with sprinkles, crushed nuts, or shredded coconut. - Vanilla Glaze
Whisk powdered sugar with a splash of milk and vanilla extract until smooth. Dip cooled donuts and allow to set for a glossy finish. - Fruit-Filled
Skip the center hole and fry whole rounds. Once cooled, fill with jam, custard, or cream using a piping bag and dust with powdered sugar.
Storage and Reheating
Room Temperature
Donuts are best enjoyed the day they’re made but can be kept at room temperature in an airtight container for up to 2 days.
Freezing
Plain, unfrosted donuts freeze well. Let them cool completely, wrap individually in plastic wrap, and place in a freezer-safe bag or container. Reheat in the oven at 325°F (160°C) for about 10 minutes.
Reheating
Avoid microwaving if possible, as it can make the texture rubbery. Reheat in a toaster oven or regular oven to restore a light, slightly crisp exterior.
Variations
Brioche Donuts
Use a dough enriched with whole eggs and more butter for a richer, softer donut similar to French-style brioche.
Filled Donuts
Leave out the center hole and fill donuts post-frying with jam, Nutella, pastry cream, or lemon curd.
Vegan Donuts
Replace egg yolks with mashed banana or plant-based yogurt, use non-dairy milk, and substitute butter with coconut oil or vegan margarine.
Spiced Donuts
Add ground cinnamon, nutmeg, or cardamom to the dough for a warmly spiced variation.
Mini Donuts
Use a smaller cutter to create bite-sized donuts. These are great for parties or as part of a dessert platter.
Why This Recipe Works
This donut recipe balances simplicity with satisfying results. It uses pantry staples and doesn’t require special equipment beyond a pot and thermometer. The inclusion of egg yolks and butter enriches the dough without making it too heavy. The double rise method ensures the perfect structure and texture—airy, tender, and light, yet sturdy enough to hold toppings.
Frying at the right temperature guarantees that golden crust and airy interior. The base is neutral enough to support a variety of toppings and flavors, yet rich enough to enjoy on its own.
Whether you’re making them for a weekend treat, a brunch table centerpiece, or a special occasion, these donuts are a true crowd-pleaser.
Final Thoughts
Homemade donuts offer a sense of nostalgia and comfort that few store-bought versions can match. There’s a simple pleasure in watching dough transform into golden puffs of joy and finishing them with your favorite toppings. These fluffy yeast donuts are a great project for home bakers of all skill levels—easy enough for beginners, yet rewarding enough for more experienced cooks.
Make them once, and you’ll likely start finding reasons to make them again. A weekend breakfast, a holiday morning, or even a weekday surprise—they fit them all. Soft, fluffy, golden, and just sweet enough: this recipe is your go-to for classic homemade donuts.