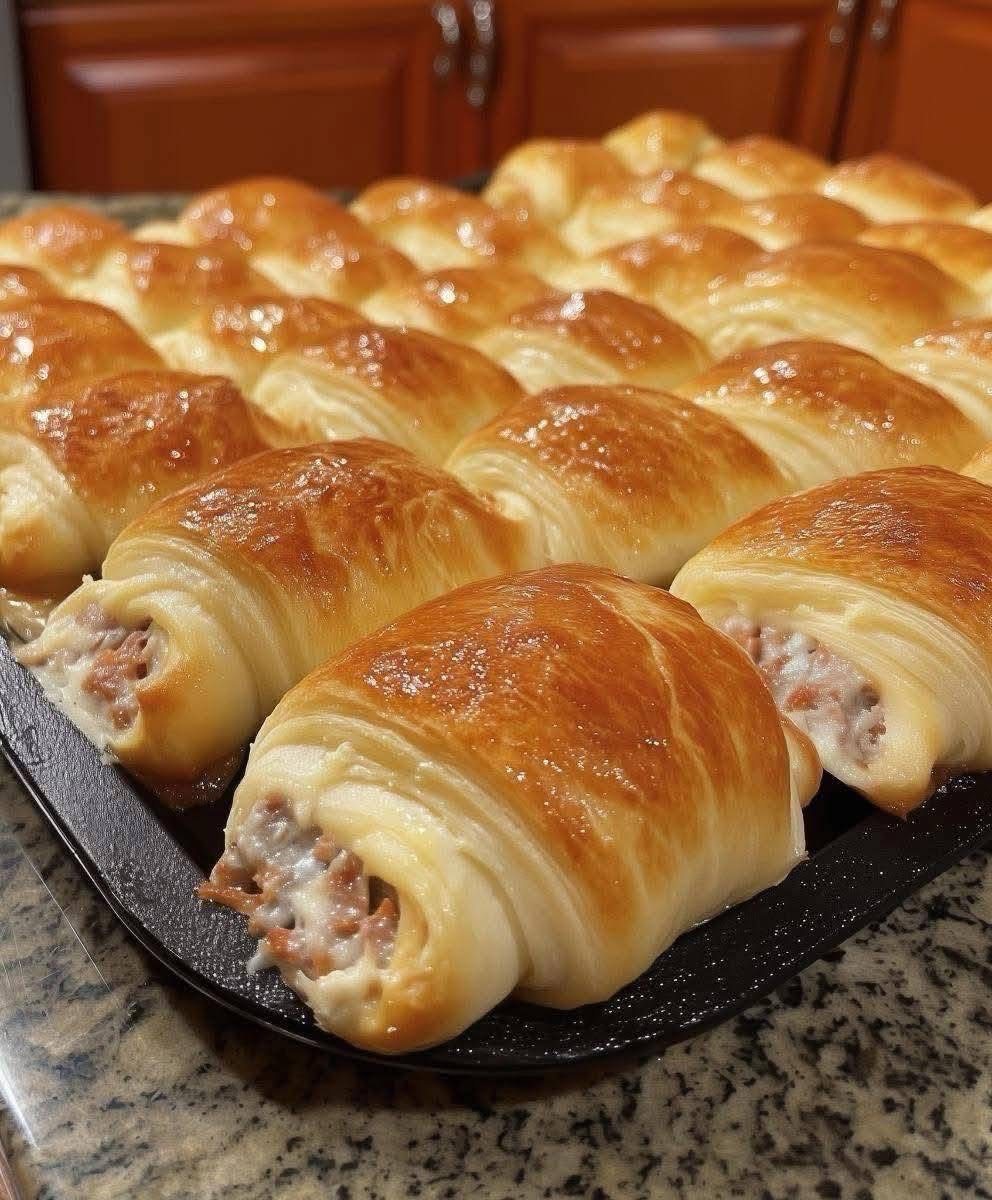
Soft, buttery, and savory, these Ham & Cheese Rolls bring together the comfort of freshly baked bread with a creamy, melty filling. Whether you’re planning a family brunch, a lunchbox treat, or a cozy dinner accompaniment, these rolls are guaranteed to satisfy. They are pillowy and rich, filled with finely chopped ham and gooey cheese, and finished with a golden top and a brush of butter for added softness and flavor.
This recipe walks you through each step of the process, from preparing the enriched dough to shaping the rolls, letting them rise, baking them to golden perfection, and finally finishing them off with a glossy, buttery shine. It’s an ideal bake for anyone who enjoys making bread at home or wants to impress family and guests with warm, delicious rolls fresh from the oven.
Let’s start by going over the ingredients and how each one contributes to the final product.
Ingredients Overview
For the Dough:
4 cups all-purpose flour
2 ¼ teaspoons instant yeast
3 tablespoons sugar
1 teaspoon salt
1 cup warm milk
1 egg
¼ cup melted butter
Each of these ingredients plays a crucial role in creating a soft, flavorful, and structurally sound dough. The flour provides the body and gluten, the yeast ensures the dough rises and becomes airy, the sugar adds subtle sweetness and feeds the yeast, and the salt balances the flavor. Warm milk gives moisture and tenderness, the egg enriches the dough with protein and fat, and the melted butter imparts a rich softness and adds to the dough’s extensibility.
For the Filling:
1 ½ cups finely chopped cooked ham
1 cup shredded mozzarella or cream cheese
(Optional) 1 tablespoon mayonnaise
The filling is where the flavor kicks in. Chopped ham offers a savory bite and salty depth, while the cheese brings creaminess and gooey richness once baked. Mozzarella melts beautifully, offering a stretchy texture, whereas cream cheese adds a tangy softness. Adding mayonnaise is optional but highly recommended if you prefer a creamier filling.
For Brushing:
1 egg yolk + 1 tablespoon milk (egg wash)
Melted butter (for brushing after baking)
The egg wash gives the rolls that iconic golden color and sheen when baked, while brushing with butter after baking makes the crust soft and flavorful, keeping them moist and adding a beautiful finish.
Step-by-Step Instructions
- Making the Dough
Begin by combining all-purpose flour, instant yeast, sugar, and salt in a large mixing bowl. These dry ingredients should be mixed thoroughly before adding any wet components to ensure even distribution of the yeast and sugar.
Pour in the warm milk. Make sure the milk is warm—not hot—to the touch. Ideally, it should be around 110°F (43°C). This helps activate the yeast and encourages fermentation without killing it.
Add in the egg and melted butter. The egg brings in extra fat and protein, creating a rich and supple dough, while the butter introduces a tender crumb and buttery aroma.
Mix the ingredients together and start kneading. You can knead by hand on a floured surface or use a stand mixer with a dough hook. Knead for about 10 minutes until the dough becomes soft, smooth, and slightly tacky but not sticky. It should pass the “windowpane test”—a small piece of dough stretched between fingers should form a thin, translucent sheet without tearing.
Once the dough is smooth and elastic, place it in a lightly greased bowl. Cover it with a clean cloth or plastic wrap and let it rise in a warm place for about 1 hour or until doubled in size. Rising times can vary based on the room temperature, but the dough should puff up significantly.
- Preparing the Filling
While the dough is rising, prepare the filling. In a bowl, mix the finely chopped ham with shredded mozzarella or cream cheese. You can use either depending on your preference for a stretchy or creamy texture. If you like your filling extra creamy, you can stir in a tablespoon of mayonnaise at this point.
The ham should be finely chopped so it incorporates easily into the rolls and provides flavor in every bite. If you’re using leftover ham, this is a great way to repurpose it.
Make sure the filling is ready and cooled to room temperature before you begin assembling the rolls.
- Assembling the Rolls
Once the dough has doubled in size, punch it down gently to release any air bubbles. Turn it out onto a floured surface and divide it into equal portions. Depending on the size you want, you can make around 12–16 rolls from this batch.
Take each piece of dough and shape it into a ball. Then, using a rolling pin, flatten each ball into an oval or rectangle about ¼ inch thick.
Place a spoonful of the ham and cheese filling in the center of each dough piece. Roll the dough tightly, like a jelly roll, and pinch the edges to seal so that the filling stays enclosed during baking.
Place the filled rolls seam-side down on a greased or parchment-lined baking tray. You can space them apart for individual rolls or place them close together if you want soft pull-apart buns.
- Second Rise
Once all the rolls are shaped and placed on the tray, cover them with a clean towel or lightly greased plastic wrap. Let them rise for another 30 minutes. This second proof allows the dough to puff up again and ensures a tender, airy result when baked.
During this time, preheat your oven to 180°C (350°F).
- Baking
Before placing the rolls in the oven, prepare the egg wash by whisking together one egg yolk with one tablespoon of milk. Brush the tops of the rolls generously with this mixture. This gives the rolls a beautiful, shiny, golden crust when they bake.
Bake the rolls in the preheated oven for 20 to 25 minutes, or until they are puffed and golden brown. The cheese might ooze slightly from some edges, which adds a deliciously rustic and appetizing touch.
- Finishing Touch
Once the rolls are out of the oven, brush them immediately with melted butter. This final step adds extra flavor, makes the crust softer, and enhances the aroma.
Let the rolls cool slightly before serving. They can be enjoyed warm or at room temperature.
Serving Suggestions
These ham and cheese rolls are incredibly versatile and suitable for various occasions:
- Serve them for breakfast with a hot cup of coffee or tea.
- Include them in a lunchbox along with a piece of fruit or salad.
- Pair them with a bowl of soup or salad for a light dinner.
- Offer them at brunch gatherings or potlucks as a crowd-pleasing side.
- Freeze extras and reheat them for a quick snack on busy days.
Tips for Perfect Rolls
- Use freshly cooked ham or good-quality deli ham for the best flavor.
- If using cream cheese, let it soften to room temperature so it blends easily with the ham.
- Kneading is key to a soft and elastic dough. Don’t rush the process.
- Always let your dough rise in a warm, draft-free area. An oven with just the light on works well.
- Don’t overfill the dough pieces—too much filling might cause leakage.
- Brush rolls immediately with melted butter for that glossy bakery finish.
Variations
You can modify this recipe to suit your taste or what you have on hand.
- Use cooked, shredded chicken instead of ham for a different flavor.
- Add chopped herbs like parsley or chives to the dough or filling.
- Use a combination of cheeses, such as cheddar and mozzarella, for a more complex flavor.
- Add a spoon of Dijon mustard to the filling for a tangy twist.
- Make mini versions for party appetizers.
Storage and Reheating
These rolls store well at room temperature for up to 2 days, covered tightly. For longer storage, refrigerate them for up to 5 days or freeze them for up to 2 months.
To reheat:
- Oven: Warm in a 160°C (325°F) oven for 10 minutes.
- Microwave: Wrap in a paper towel and heat for 20–30 seconds.
Avoid overheating in the microwave to prevent the rolls from becoming tough or rubbery.
Conclusion
Soft Ham & Cheese Rolls are a delightful fusion of tender bread and savory filling, easy enough to make at home yet impressive enough for special occasions. Their fluffy texture, cheesy core, and buttery crust make them irresistibly good. Whether you’re a seasoned baker or just starting out, this recipe delivers consistent, bakery-style results every time.
Keep this recipe handy in your collection. It’s a perfect go-to for when you want a homemade snack or meal that’s comforting, flavorful, and satisfying. The ingredients are simple, the method is straightforward, and the results are nothing short of delicious.
These rolls will quickly become a favorite in your home. Make a batch, share them with family or friends, or savor them slowly with your favorite drink. Every bite is soft, savory, and full of flavor.